Taking care of your car is just like taking care of your own body - it requires proper maintenance to function efficiently. One of the most important aspects of car maintenance is changing the engine oil.
Although it may seem intimidating, learning how to do it yourself not only saves you money but also makes you feel more in control as a car owner. Just imagine how accomplished you'll feel from completing this crucial and fun DIY project with your own hands - let's get right into it and guide you through the process.
Gather Your Tools and Supplies
Before you embark on this automotive adventure, ensure you have the following tools and supplies at your disposal:
- Car jack and jack stands for safety
- An oil filter wrench
- Socket set
- Oil drain pan
- Funnel
- New oil filter
- The appropriate amount and type of engine oil, as specified in your car's owner's manual
- Wrench for your car's oil drain plug
- A pair of gloves and safety glasses
Step 1: Prepare Your Workspace
Park your car on a level surface and engage the parking brake. Ensure the engine is cool to the touch. Gather your tools and supplies, and place the oil drain pan under the oil pan or sump.
Step 2: Lift the Car
Using the car jack, carefully lift your vehicle and secure it with jack stands. Ensure it's stable and safe to work under.
Step 3: Locate the Oil Drain Plug
Climb under your car and locate the oil drain plug, which is typically at the bottom of the engine oil pan. Position the oil drain pan underneath it.
Step 4: Drain the Old Oil
Using the appropriate socket or wrench, carefully loosen the oil drain plug. Be prepared for hot oil to flow out. Allow the old oil to drain completely into the pan.
Step 5: Remove the Old Oil Filter
Using the oil filter wrench, carefully remove the old oil filter. Make sure to have your drain pan ready to catch any remaining oil that may drip from the filter housing.
Step 6: Install the New Oil Filter
Before installing the new oil filter, lightly lubricate the rubber gasket on the top of the filter with a small amount of fresh oil. Then, screw the new filter into place, making sure not to over-tighten it. Refer to the filter's instructions for the recommended torque.
Step 7: Replace the Oil Drain Plug
Once all the old oil has drained, clean the drain plug and the surrounding area. Then, carefully reinstall the oil drain plug and tighten it securely.
Step 8: Add New Oil
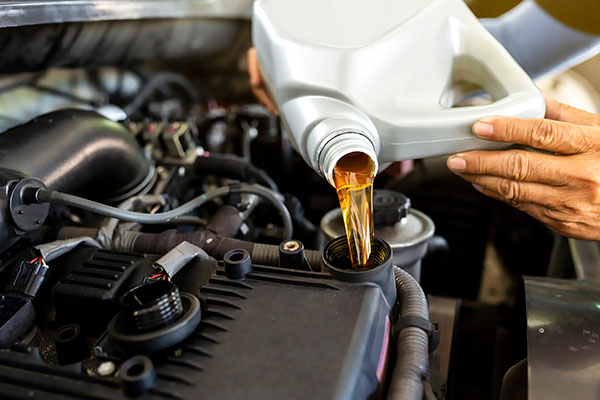
Using a funnel, pour the appropriate amount and type of engine oil into the engine through the oil filler cap. Refer to your car's owner's manual for the correct specifications.
Step 9: Check the Oil Level
Start the engine and let it run for a few minutes. Turn it off and wait for a minute to allow the oil to settle. Check the oil level using the dipstick and add more, if necessary, to reach the correct level.
Step 10: Dispose of Old Oil Responsibly
Don't forget to properly dispose of the old oil and filter at your local recycling center or an auto parts store that accepts used oil.
Remember, if any assistance is needed, Strande's Garage is one phone call away. We will be happy to assist with your oil change or any other vehicle-related maintenance.